Woodwork with kids
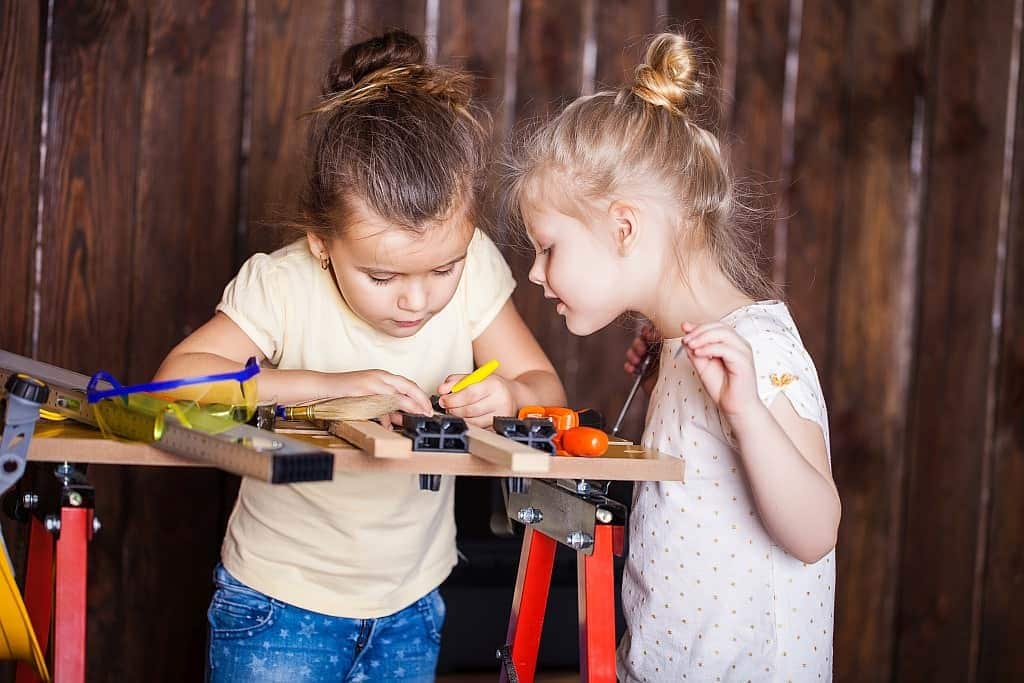
Michael Auden is now taking bookings to come into your school and conduct woodworking workshops with your students.
Woodworking workshops involve:
Woodworking workshop #1 – Building a robot
Your workshop facilitator, Michael Auden has a passion for building fun, quirky robot characters. He finds building robots from recycled materials relaxing, creative and inspiring.
Contact Michael Auden by email [email protected]
Woodworking workshops involve:
- Sparking your imagination
- Developing your creative skills
- Encouraging lateral thinking
- Building confidence
- Collaboration and communication with colleagues
- fun and cooperative play
Woodworking workshop #1 – Building a robot
Your workshop facilitator, Michael Auden has a passion for building fun, quirky robot characters. He finds building robots from recycled materials relaxing, creative and inspiring.
- Kids get to use screw drivers and small hammers.
- All drilling is done in advance.
- No gluing or painting involved.
- Just $10 per child - all resources supplied.
Contact Michael Auden by email [email protected]
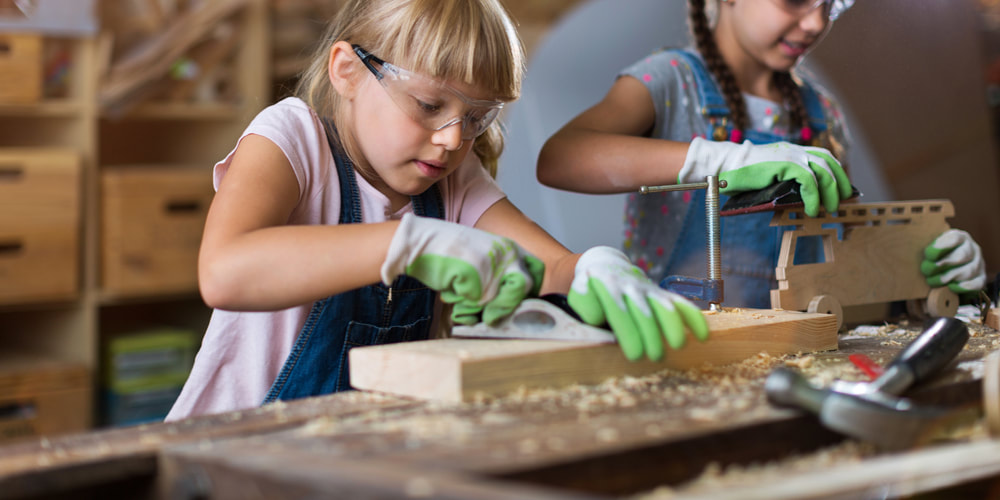
Woodworking With Children
Children can be taught to utilize the woodworking area appropriately and learn to respect tools – just as in any other area in the classroom. For children ages 4 years and older, the benefits and the learning associated with this activity far outweigh the potential for problems, if implemented and supervised correctly…
Children can be taught to utilize the woodworking area appropriately and learn to respect tools – just as in any other area in the classroom. For children ages 4 years and older, the benefits and the learning associated with this activity far outweigh the potential for problems, if implemented and supervised correctly…
- Start simple - a piece of sandpaper and wood; or Styrofoam, golf tees and a small rubber mallet. From there, you can introduce a piece of wood with several screws started and a screwdriver. Introduce one tool and one skill at a time.
- Incorporate a learning unit on trees, wood, and uses for wood. Have children explore wood – note the grain, the smell, the textures, the weight, differences in types, etc.
- Teach the children how to use real tools correctly. Cover the rules for the Woodworking Area, and make it clear that if children choose not to follow the safety rules they will need to leave that area and play somewhere else. Safety is always first and foremost! This concept can be taught, as can a healthy respect for tools
- Limit the number at the workbench to one or two.
- Children (ages 4 and up) should be using real tools. (The plastic Little Tykes workbench is appropriate for children 3 and under.) There are sets of real child-size tools at places like Home Depot for around $20. Some 3-year-old classes may be ready to introduce simple woodworking depending on the group of children and the teacher.
- Expect and model respect for the tools and the woodworking area. Learn and teach the children the correct names of all of the tools. Trace the outline of the tools on the pegboard for children to put the tools back when they are finished with them. Goggles should always be worn. (Hard hats and construction aprons can also be used.)
- Place your workbench in a highly visible area, but away from traffic paths. You may also want to locate the workbench away from the block area so that wooden blocks are not used as wood scraps.
- If, at some point you incorporate a saw, have a vise permanently attached to the workbench to hold the wood in place when sawing.
- The best types of wood to use are soft woods – white pine, cedar, fir, and redwood. Lumber companies, cabinetmakers, karate schools, and hardware stores, if asked, often will donate scraps of wood.
- Use nails with large heads (roofer nails). Do not have nails that are longer than the wood, to prevent a nail sticking out of the bottom of a "creation".
- Place construction pictures and related magazines in this area to foster ideas, creativity, and language development.
- If you foresee a problem, remove the tools from the workbench and bring them out only during the times when that area is open. You can also use string to tie the tools to the workbench (this really only serves as a reminder – the determined child will cut the string with the saw.)
- You can start the nails for children. You can also place a comb between the nail head and the child’s fingers as a barrier to prevent injury.
- Safety is paramount!!! The Woodworking Area must be well supervised at all times!
- Eye-hand coordination
- Dexterity/fine motor
- Problem-solving
- Role-playing
- Creative thinking
- Imagination
- Independence/self esteem
- Stress reliever (pounding)
- Matching/classification
- Sorting
- Comparing/measuring
- Textures and properties
- Conceptualization
- Cooperation
- Respect for tools and materials
- Increased awareness and understanding of the world around them
- Language development

